Getting started
Setup takes about three minutes. You can change everything later under Settings.
Sign up
Go to unclench.ai/signup and choose Continue with Google.
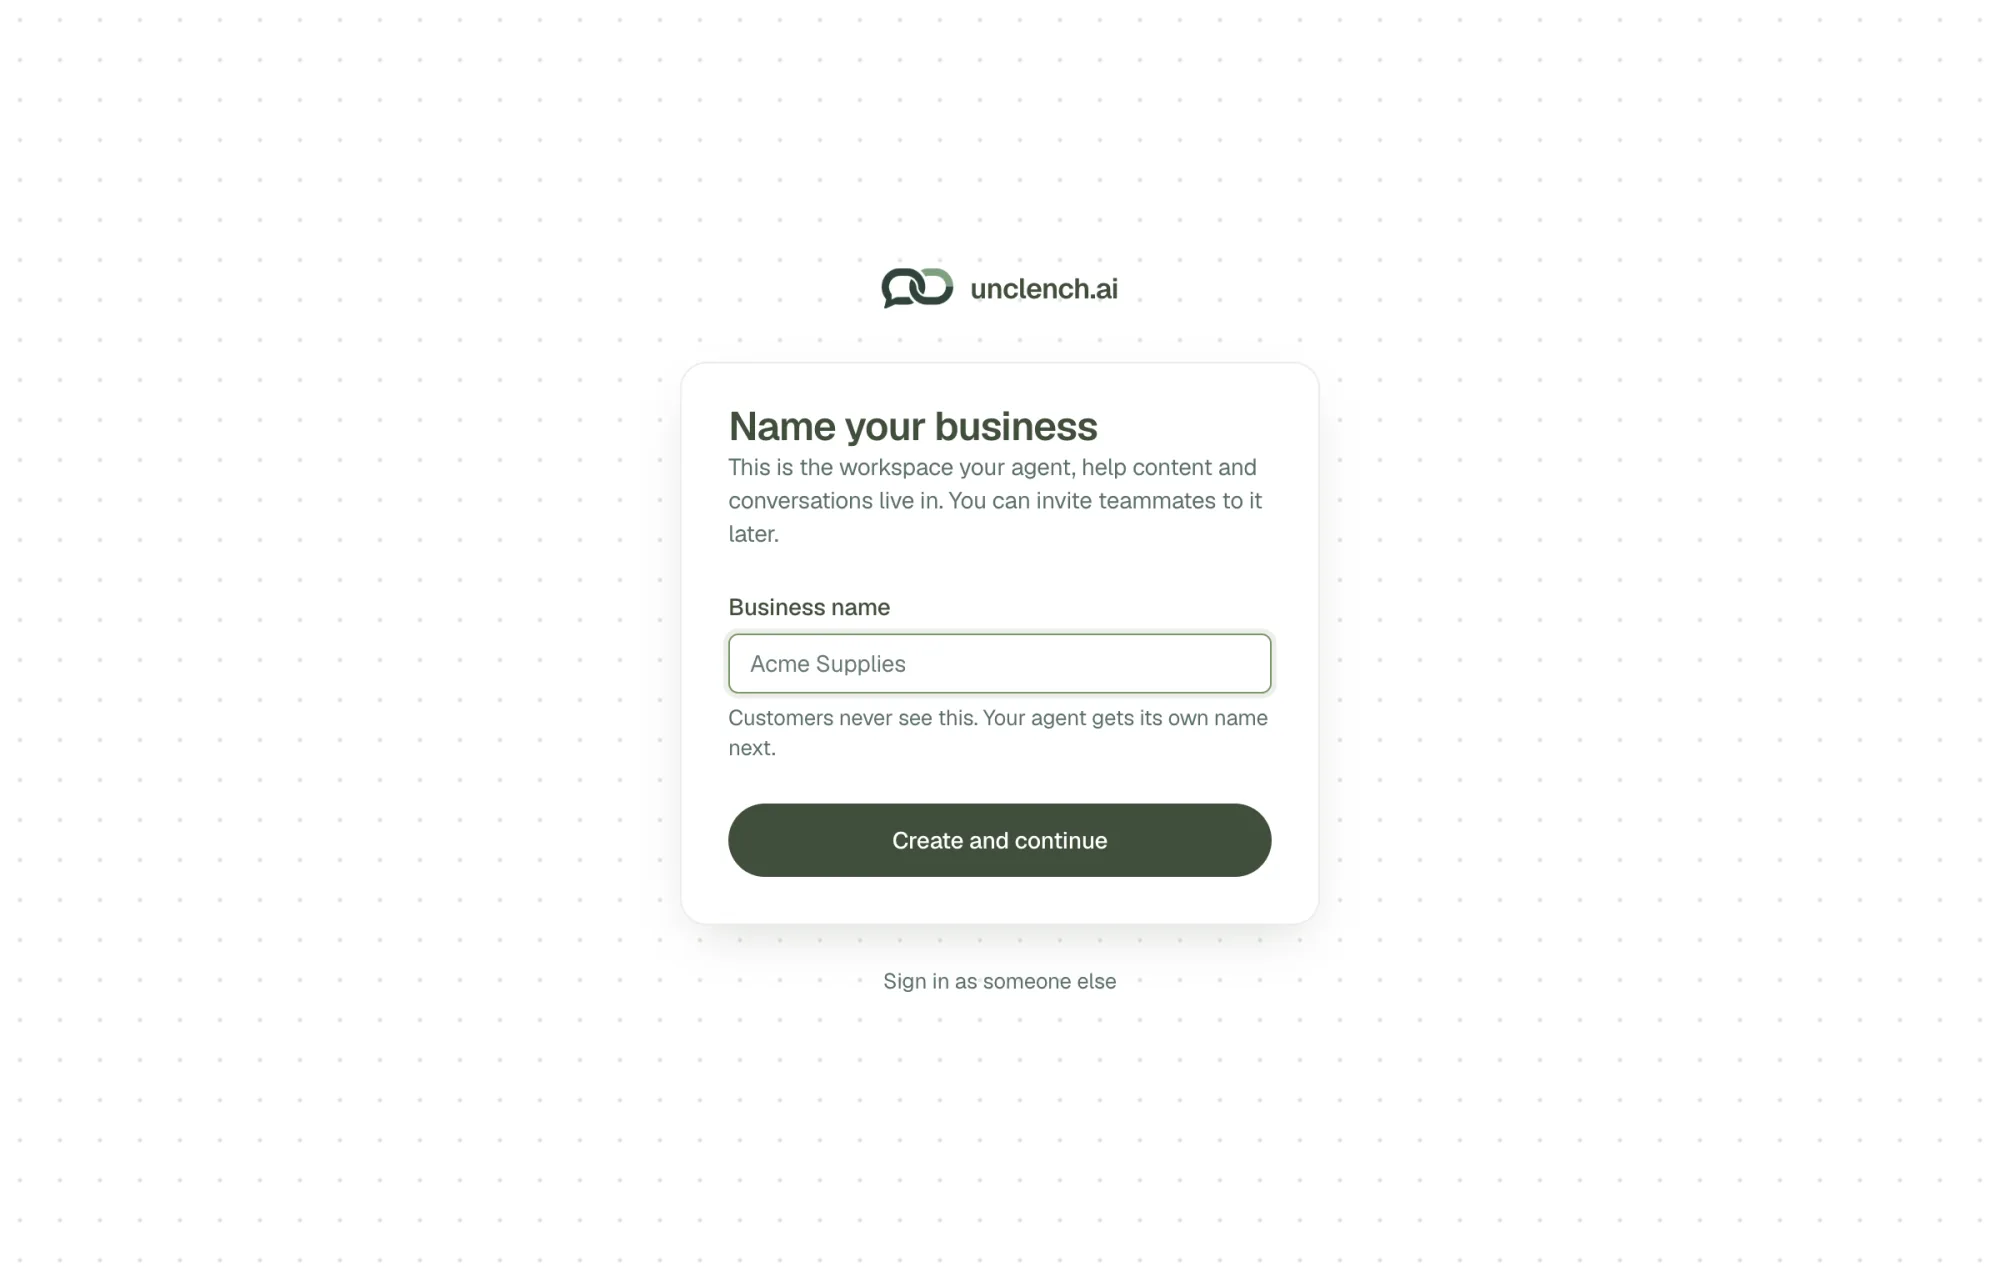
Name your business
This names your workspace, the place your agent, help content and conversations live. Customers never see it.
Tell us about your business
Pick what kind of business you run, then give your agent a name and a welcome message. Customers see both in the chat. You also choose a tone: Friendly, Professional, Concise, or Custom if you want to write your own instructions.
A preview beside the form shows what customers will see as you type.
Teach it about your business
Add at least one piece of help content: your website, a few written answers, or files. See Add your help content for what each option does.
Add it to your website
Copy the code snippet and paste it into your site. See Add the chat to your site for where it goes on common platforms.
Choose Finish and try your agent to open the Playground, where you can ask test questions before anyone else sees it.
Turn the chat on
The chat only shows on your site once your workspace has a plan. Open Billing and choose Start 7-day free trial on the plan you want. Until then you can set everything up and test it in the Playground, and a banner in the console reminds you the widget is offline.
See Plans and billing for what each plan includes.
Only owners and admins go through setup. If a teammate invited you, you land straight on the Overview.
Optional: set your team’s hours
Your agent answers around the clock unless you tell it otherwise. If you want your team to take chats during working hours, set them under Settings → Schedule. See Schedule.
The setup checklist
Until your first customer conversation, the Overview page shows a short checklist: add help content, try a few questions, and put the chat on your site. Mark each one complete as you go, or hide the list.